Dynamic Data (and color!) Using the Built-in Spreadsheet
Have you ever wanted to print a set of labels but didn't want to fuss with Excel, or export CSV files? Label LIVE has a built-in table editor that lets you enter custom data. This lets you stay in one app for data and labeling.
New Table
The first step is clicking the Data Tab and choosing "New Table." If this option is missing, it's because you already have data imported. Try removing that data, or starting with a new document.
Add Your First Column
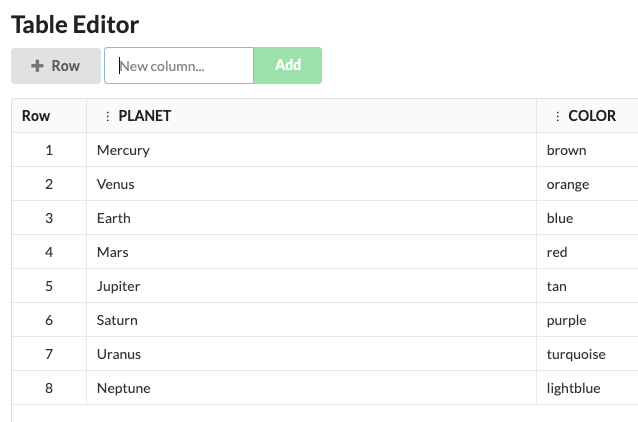
Here's where you add your first column. If you're making name tags you might want NAME or if you're making product tags you may want SKU. For fun, I'm going to use PLANET.
Add More Columns
You can add as many columns as you need. Each column can be thought of as an individual piece of data. In Label LIVE we call them Variables. Here, I'm adding a COLOR column.
Enter Rows of Data
Now, simply click and start typing. You can use the <tab> key on your keyboard to move to the next piece of data. Think of each row as an individual label.
Note: You can delete rows by right clicking and delete columns by clicking on the vertical "..." on the header.
Click the X (upper right) to close the Table Editor. (Sorry Pluto!)
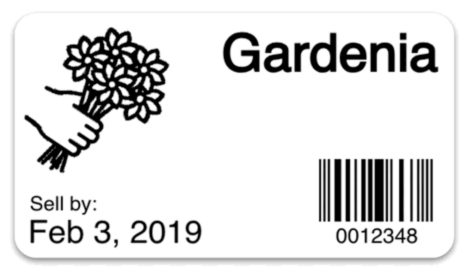
Design Your Label
Now click on the gear icon next to PLANET and click "Add as Text." Notice how the word "Mercury" shows up on the label design.
You can resize, rotate, and change the font as you require. Double-click the text to edit, or edit the Text object on the right side (highlighted). For this example I added "Yay" and an exclamation point to the end.
Using Custom Colors
You can easily change the color of the design based on your variables. Let's add a circle to represent the planet's color.
You can do the same color "trick" for text, too. You try!
Printing the Solar System
To print all of your labels click on the Print tab and move your mouse over Data Rows. Here, choose "All Rows" or type ALL.
Click the blue Print button. Blast off!
Now, about Pluto... 😉
Download Design
Download and open this file with Label LIVE: planets.lsc